
Reviewed · STANLEY PARK & SEAWALL TOURS
Photography & Walk in Stanley Park
Stanley Park turns into a photo classroom fast. This 2-hour Stanley Park photography walk blends an easy hike with one-on-one instruction in both smartphone shooting and camera settings, built around the park’s iconic views. I love that you can get a route that matches your pace, with choices from main spots to deeper forest moments. I also like that the tour includes complimentary photos and even DSLR borrowing, so you’re not stuck fiddling with gear. The one thing to keep in mind: it’s best with good weather, and you’ll want solid walking comfort since the day is still a real walk.
The big idea is simple: you’ll hit classic Stanley Park landmarks, then catch sunset at English Bay during the most photogenic light. If the guide is Nafees (as shown in some standout instruction reports), you’ll get practical, confidence-building coaching rather than generic advice. Bonus: the group stays small (maximum 7), so you’re not just following along—you’re actually learning how to frame shots and control focus and exposure.
In This Review
- Key highlights you’ll care about
- Why Stanley Park makes a strong photo lesson (even if you’re not a “camera person”)
- Your 2-hour plan: pacing, coaching, and what you’ll actually learn
- Stop 1: Brockton Point Totem Pole and learning how to frame a landmark
- Stop 2: Stanley Park’s old-growth forest walk (where your settings start to matter)
- Stop 3: Vancouver Seawall views and practicing composition with water + sky
- Stop 4: English Bay sunset for golden hour and blue hour photos
- Stop 5: Lost Lagoon for a quieter, textural finish
- Value check: is $39.49 worth it?
- Who should book this photo walk (and who should pass)
- Should you book? My honest take
- FAQ
- What’s the duration of the tour?
- Where does the tour start, and what time is it?
- Do I need a DSLR camera?
- How many people are in each group?
- Does the tour include photos?
- What happens if weather is bad?
Key highlights you’ll care about
- Small group size (max 7) means you get more personal help instead of rushed pointers
- Old-growth forest + Seawall + English Bay sunset in one smooth route so you shoot changing light
- Smartphone tips plus DSLR fundamentals (aperture, shutter speed, ISO) without making it complicated
- Optional camera support: DSLR can be borrowed, and your own camera still works
- Complimentary photos at the end for a finished set you can keep right away
Why Stanley Park makes a strong photo lesson (even if you’re not a “camera person”)
Stanley Park is a 400-hectare West Coast rainforest right next to downtown. That mix matters for your photos. You get depth from tall trees, reflections and wide open views along the water, and sky-and-mountain backdrops that look great in both bright light and softer evening tones. It’s basically a natural photo studio where you can practice multiple styles in a short time.
This tour also leans into the light that Vancouver is known for near sunset. The walk is designed so you’re not only getting pretty scenery—you’re learning how to see it at different phases of the day. Golden hour and blue hour (the cooler, darker light after the sun dips) can change the feel of an image dramatically, and here you’re set up to experience that shift while you’re still on your feet and shooting.
The best part for you: the coach doesn’t treat this like a sightseeing checklist. The goal is to help you create stronger frames—using composition basics and camera controls—while you move between locations that naturally teach those skills.
Your 2-hour plan: pacing, coaching, and what you’ll actually learn
The walk runs about 2 hours starting at 3:00 pm, which is a smart time window because you can cover the park, then end at English Bay when the sunset light starts turning cinematic. The itinerary is flexible by your ability. The guide can venture deeper into the forest or keep you to the main spots, so you’re not forced into a one-size-fits-all hike.
You’ll get plenty of one-on-one instruction, which is where this type of tour usually wins. If you’ve ever tried to watch other people take photos while you’re stuck on what button to press, you’ll appreciate the structure here. The coaching is built around:
- smartphone tips and tricks
- composition techniques
- DSLR basics such as aperture, shutter speed, and ISO
That’s a big deal because those three settings aren’t just technical jargon. They affect what you can control in real life. Aperture helps with depth and subject separation. Shutter speed changes motion blur and light intake. ISO affects how bright your shot can be when the light starts dropping near sunset.
Also, it’s a walking tour, but it’s described as easy, fun, and safe for people of different ages, with customization. At the same time, the tour data says travelers should have a strong physical fitness level. So think “comfortable walking,” not “sit-and-stroll.” If you’re recovering from an injury or you know you tire fast on foot, you’ll want to tell the guide right away so your route matches what you can handle.
The park rewards repeat laps. More Stanley Park picks
Stop 1: Brockton Point Totem Pole and learning how to frame a landmark
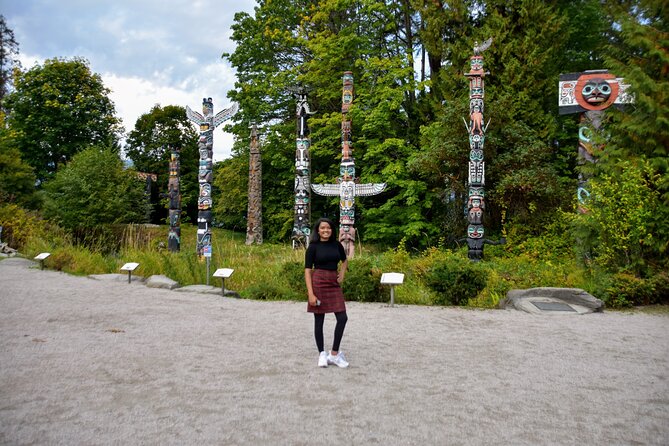
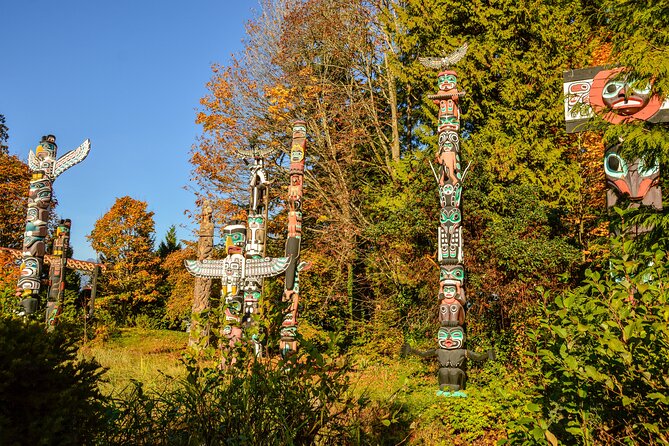
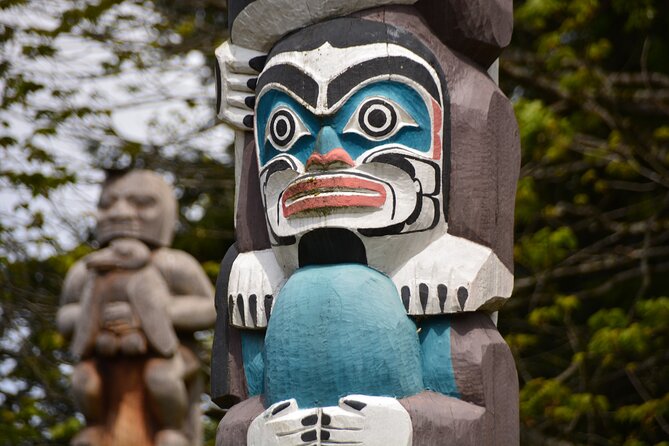
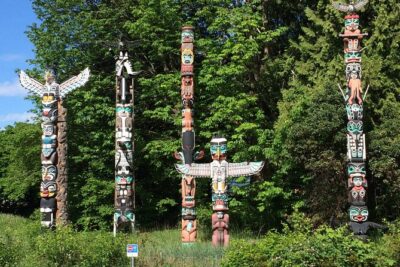
You start with the Brockton Point Totem Pole. Starting here is useful because it gives you an early target with clear subject lines and strong visual storytelling. Totem poles also tend to reward careful composition: you’re dealing with height, repeated forms, and ways to balance the subject with the surroundings.
What I like about this opening stop is that it gets you shooting quickly while you’re still fresh. You can test a few basics—like how zoom changes the feel, how shifting your angle affects the background, and how composition choices can make the subject feel centered and intentional.
Potential drawback: since this is a first stop, you’ll want to arrive ready to move. There isn’t much time to warm up later. If you’re planning to borrow a DSLR (the tour says it can be borrowed), you’ll want to use the early minutes to get set, not troubleshoot mid-walk.
Stop 2: Stanley Park’s old-growth forest walk (where your settings start to matter)
Next comes the core Stanley Park experience: time in the old-growth forest. Forest light is different from open sky light. It can be brighter under patches of sun and darker under canopy shade. That’s exactly the kind of environment where your settings and exposure choices actually show up in your photos.
This is where your instruction becomes practical. Once you’re surrounded by trees and depth, your camera and smartphone behave differently depending on where you point. The coaching helps you connect the theory (aperture, shutter speed, ISO and composition) to what you see through the viewfinder or screen.
Here’s a key benefit for you: this is also where the guide can customize how far you go. If you want the deepest forest moments, you can go more deeply into the park. If you want the main viewing areas with less time walking, that’s an option too. You still get the photo learning—just matched to your comfort level.
One consideration: forest scenes often reward patience, but your total tour time is limited. So aim to shoot a few strong frames per location instead of trying to capture everything. With a coach guiding you, you’ll likely get targeted feedback fast, so you don’t waste time guessing.
Stop 3: Vancouver Seawall views and practicing composition with water + sky
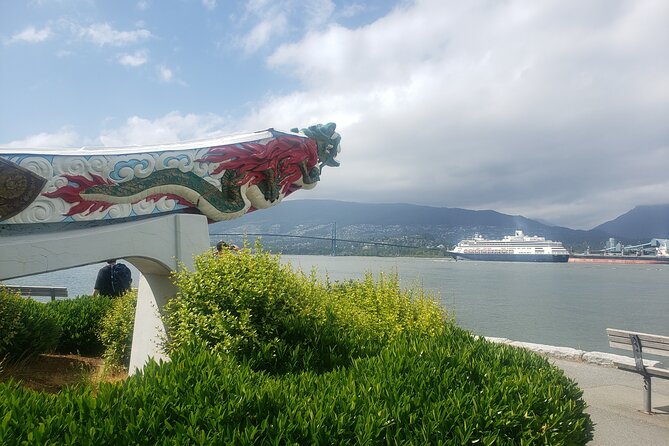
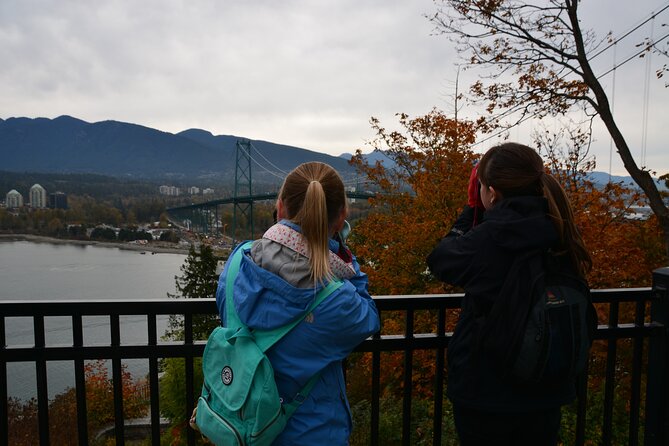
After the forest, the tour shifts to the Vancouver Seawall. This stop is where you get a different visual “lesson.” Along the Seawall, you’re dealing with broad sightlines—water, mountains, sky, and the tall trees that frame the view. That variety is great for practicing composition because you can change your framing quickly as you walk.
Think of this section as your exercise in layering. In your photos, you can create depth by combining a close foreground element with midground water and background mountains and sky. The coach’s composition guidance is especially helpful here because it’s easy to end up with a pretty scene that doesn’t have a clear subject. On the Seawall, you’re surrounded by beauty; the skill is choosing what your viewer should look at first.
Also, because the tour has a strong focus on learning, the Seawall is a good moment to try a controlled test: adjust one setting at a time (or one concept at a time on your smartphone). Then you’ll see the difference between shots rather than collecting a random pile of similar images.
More golden-hour help behind the lens
Stop 4: English Bay sunset for golden hour and blue hour photos
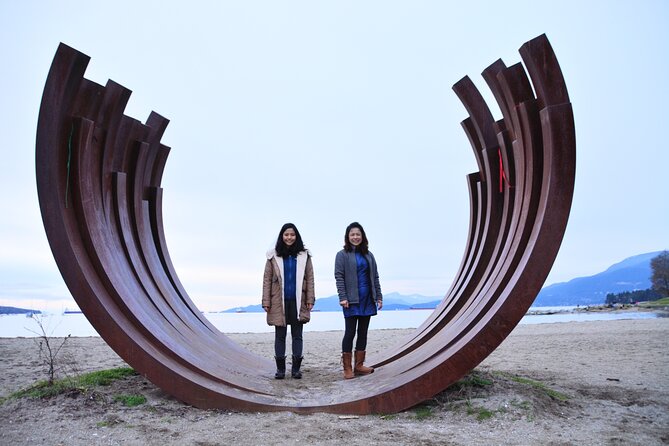
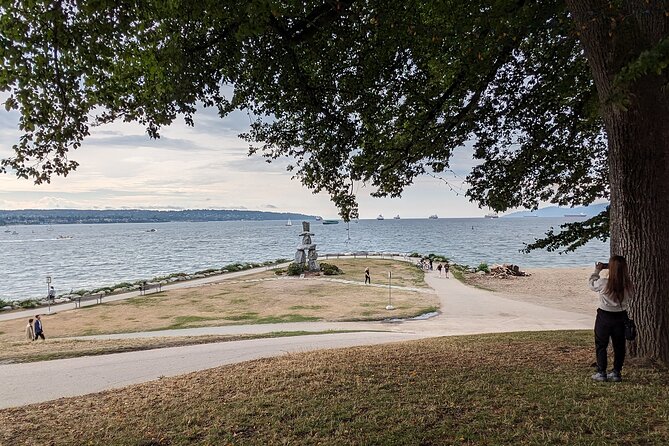
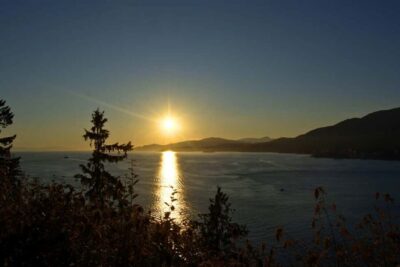
Then you hit the finale that many photographers wait for: English Bay. The tour is built to get you to the beach in time for sunset, when the light turns flattering and colors shift quickly. English Bay is described as Vancouver’s most popular beach and a place known for amazing sunsets—so it’s not just a random stop. It’s the payoff.
This part matters because it pushes you to apply what you learned when the light is changing. The “golden and blue hours” aren’t just nice words. As evening approaches, your camera (or phone) needs help. You’ll often need to balance shutter speed for clarity versus ISO for brightness. That’s exactly why the tour includes instruction around DSLR settings like shutter speed and ISO.
If you’re using a smartphone, the guidance is still useful because smartphones are also doing exposure and auto-processing under low light. The goal is to help you get consistent results—so you’re not just reacting to what your phone decides to do.
One practical tip: sunset timing is a little sensitive to weather. The tour explicitly requires good weather, and if conditions aren’t right you’ll be offered a different date or a full refund. So if you’re planning a trip around sunset, this tour can be a great target—but it’s also worth keeping flexible plans.
Stop 5: Lost Lagoon for a quieter, textural finish
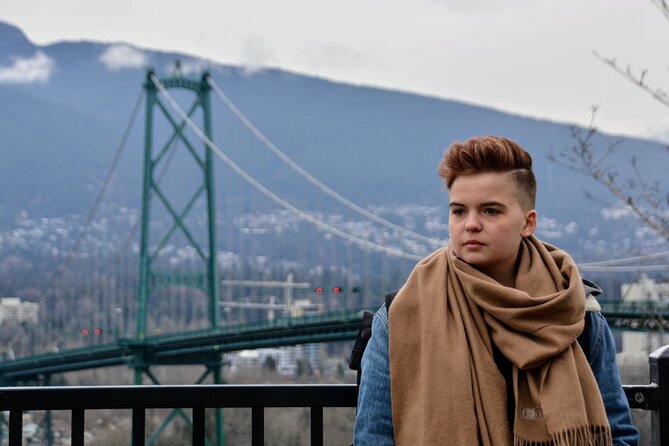
To round things out, you end with Lost Lagoon. This stop adds a different texture and mood from the open beach and wide Seawall views. If English Bay is about horizon and light, Lost Lagoon is more about grounding your images with natural details—helpful when you want your photo set to feel varied rather than repetitive.
This is also a good time to practice composition choices you may have heard earlier, but with a new kind of scene. For example, you can experiment with framing that uses leading lines or subject isolation instead of only shooting the biggest view in front of you.
Since the tour is short overall (around two hours), consider this last stop as your chance to refine your favorites. You’ll likely have already learned the tour’s “photo rhythm” by then: choose a subject, check your framing, shoot a few versions, then move on.
Value check: is $39.49 worth it?
At $39.49 per person for about 2 hours, this isn’t a huge investment, especially considering what’s included. You’re getting:
- a professional photographer guide
- a small-group walking format (max 7)
- transportation
- one-on-one instruction
- your choice of camera approach (DSLR can be borrowed; your own camera works too)
- photoshoot time plus complimentary photos at the end
Here’s how I’d think about value in plain terms. If you already love taking photos but struggle with consistency, this tour buys you time with a coach plus a curated route that covers multiple lighting situations. If you’re traveling solo, the complimentary photos are especially helpful because it means you don’t have to rely on self-timers and awkward angles to document your trip.
What also adds value: the tour is booked regularly (an average of 25 days in advance). That usually points to demand, and in a small-group setting, demand can help keep the experience running at full strength.
The only reason it might not be worth it is if you’re the type who wants to wander without instruction. This is not just transportation between photo spots. It’s a guided photo lesson with structured stops and teaching moments.
Who should book this photo walk (and who should pass)
This tour fits you best if you want photos that look intentional, not just “I was there” proof. You’ll likely enjoy it if you:
- want smartphone and camera basics explained during real-world shooting
- appreciate guided photo spots that change from forest to water to sunset
- want a finished set through complimentary photos at the end
- like small groups so questions don’t get lost
It may be less ideal if you have limited tolerance for walking for two hours, even with route options. The tour describes the walk as easy and safe, but it also notes travelers should have strong physical fitness. So if you know you need frequent rests or you can’t handle moving between several locations, you might want a different style of tour.
Also, if your trip is during a stretch where weather can be unpredictable, keep backup flexibility. The tour requires good weather, and rain or poor conditions can trigger a reschedule or refund.
Should you book? My honest take
Yes, I think you should book this Photography & Walk in Stanley Park if you want a practical way to level up your photos quickly. It’s short, structured, and built around the light that makes Vancouver feel special. The small group size and the one-on-one instruction are the big reasons it’s worth it—not just the famous places.
If you’re on the fence, here’s the simplest decision rule: book it if you’re willing to learn and shoot with purpose. Skip it if you prefer silent sightseeing with no coaching, or if you don’t feel comfortable with a two-hour walking experience.
FAQ
What’s the duration of the tour?
The tour lasts about 2 hours.
Where does the tour start, and what time is it?
It starts at 655 Burrard St, Vancouver, BC V6C 2R7, Canada at 3:00 pm and ends back at the meeting point.
Do I need a DSLR camera?
No. A DSLR camera can be borrowed, but the tour says any type of camera you bring will work.
How many people are in each group?
The tour has a maximum of 7 travelers.
Does the tour include photos?
Yes. There is a photoshoot and complimentary photos are provided at the end of the tour.
What happens if weather is bad?
The experience requires good weather. If it’s canceled due to poor weather, you’ll be offered a different date or a full refund.
Sidewalk Miles in Vancouver
- Gastown Historic Walking Food Tour★ 5.0 · 1,863 reviews
- Vancouver Lost Souls of Gastown Walking Tour★ 5.0 · 1,273 reviews
- A Wok Around Chinatown: Culinary and Cultural Walking Tour Led by a Chef★ 5.0 · 610 reviews
- The Forbidden Downtown and Gastown Walking Tour★ 5.0 · 476 reviews
Vancouver Through the Viewfinder
- Sunset Bus Tour: Stanley Park & English Bay Photostops★ 4.5 · 181 reviews
- Vancouver Evening Tour: Stanley Park & English Bay Photostops★ 4.5 · 105 reviews
- Photography in Rainforest & Suspension Bridge★ 5.0 · 54 reviews
- Photography, Gondola & Snowshoeing★ 5.0 · 47 reviews
Another Lap of Stanley Park
- Vancouver City Sightseeing Tour: Granville Island & Stanley Park★ 4.5 · 1,782 reviews
- Vancouver Tour: Stanley Park, Granville Island & Capilano Bridge★ 4.5 · 1,778 reviews
- The Stanley Park Bicycle Tour by Cycle City Tours★ 5.0 · 785 reviews
- Stanley Park Horse Drawn Tour in Vancouver★ 4.5 · 550 reviews
Just Reviewed in Vancouver
- Private Transfer from Vancouver Airport to Cruise Terminal (Port)
★ 5.0 · 3 reviews - Private Chauffeured Airport to Whistler Transfer (YVR – Whistler)
★ 3.5 · 3 reviews - Experience the Beauty of Vancouver’s Forests by Bike/E-Bike
★ 5.0 · 3 reviews - Banff, Moraine Lake, Lake Louise and Columbia Icefield 4 Day Tour
★ 4.5 · 3 reviews - Arrival Transfer: Vancouver Airport YVR – Vancouver by Luxury SUV
★ 5.0 · 3 reviews - Vancouver Waterfront Guided Bike/E-Bike Tour
★ 5.0 · 3 reviews
Stanley Park & Seawall Tours, compared.
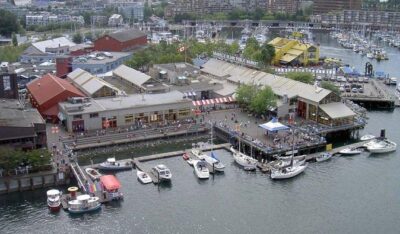 ★ 4.5Vancouver City Sightseeing Tour: Granville Island & Stanley ParkFrom $681,782 reviews
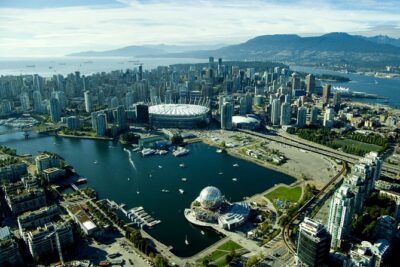 ★ 4.5Vancouver Tour: Stanley Park, Granville Island & Capilano BridgeFrom $1361,778 reviews
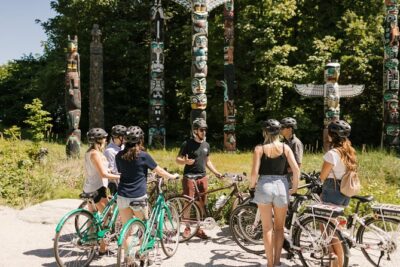 ★ 5.0The Stanley Park Bicycle Tour by Cycle City ToursFrom $81785 reviews
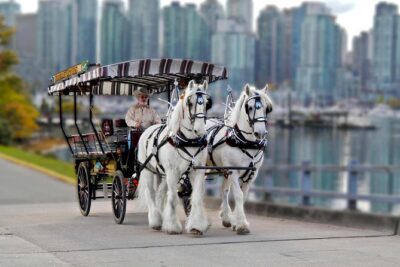 ★ 4.5Stanley Park Horse Drawn Tour in VancouverFrom $48550 reviews
 ★ 5.0Stanley Park & Downtown – Vancouver Bike ToursFrom $74243 reviews
 ★ 5.0Vancouver Secrets of Stanley Park Walking TourFrom $29208 reviews
 ★ 4.9Stanley Park Bicycle TourFrom $76194 reviews
 ★ 4.5Sunset Bus Tour: Stanley Park & English Bay PhotostopsFrom $31181 reviews
Browse the lists this tour appears in